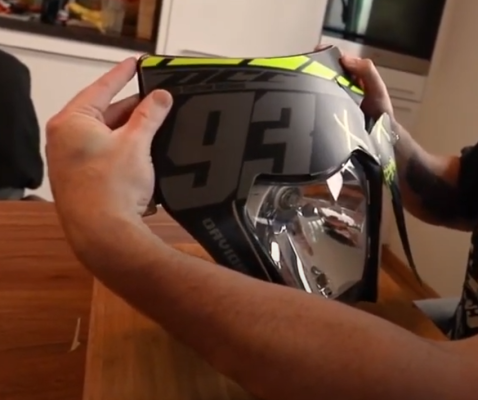
How do I attach a new decor kit on my bike ?
In a few simple steps, we will explain to you how you can cover your bike with your new decor / graphics kit in order to achieve the best possible end result.
First a short info. The optimal temperature to paste a design onto plastic or metal parts or to remove existing stickers or foils is 20-25 degrees. So if you do the whole thing in summer - no problem. In winter it is advisable to do this in a suitably warm place (garage, workshop, ...).
Step 1 - the preparation
If possible, remove the plastic parts that you want to stick on from your bike. This makes it easier, e.g. in winter, spring or autumn, to carry out the following steps in a suitably warm place. In addition, it is easier to place the foils precisely while sitting. You can and of course do not have to remove additional parts such as: shock absorbers.
Step 2 - Remove any stickers or foils
If your motorcycle kit is already covered in some way, then first remove the existing stickers or foils from the plastic parts. To do this, you can use a normal hair dryer as an aid. Use it to heat / blow dry foils / stickers and then peel them off. Also works outdoors to free attachments and metal parts from stickers.
Step 3 - clean parts (remove dirt and glue residue)
In order to optimally stick the new design on, it is important that the plastic parts are largely freed from dirt, glue residues or grease. If you still need the necessary cleaning agents, we recommend our cleaning and adhesive set. Clean the parts accordingly.
Note: Smaller scratches are not a problem, as the film mostly covers them due to its thickness and still has a firm hold. If possible, you should sand off larger scratches or damage or replace the corresponding plastic part if necessary. You can find these with us in under Hardware and Technology.
Step 4 - The pasting
A little tip in advance. A hair dryer is also helpful here. So that the film adapts better to the corresponding plastic part, place it on the corresponding plastic part before you peel off the cover paper and heat it up a little. That makes it easier, but it is not mandatory, it can also be done without a hair dryer.
Then you can stick on part by part. IMPORTANT! Don't peel off the whole cover sheet and try to place the foil all at once! It is recommended, as you can see in the video from minute 5:00, to do the whole thing piece by piece in order to be able to make any corrections. Depending on the part and type of bike, placing it is easier or more difficult and the adhesive strength of our foils is extreme, so peeling off the cover paper step by step is the best, simplest and safest way.
Step 5 - finish
If you have glued all the parts then you actually made it. You can put the plastic parts back on your bike and marvel at the result.
For cleaning our graphics & special foils, we recommend our Graphics & Bike Finisher, which is specially tailored to our decors and the materials used. Simply spray on and wipe off with the microfiber cloth - DONE.
Of course we have packed the whole thing into a nice explanation video for you.

